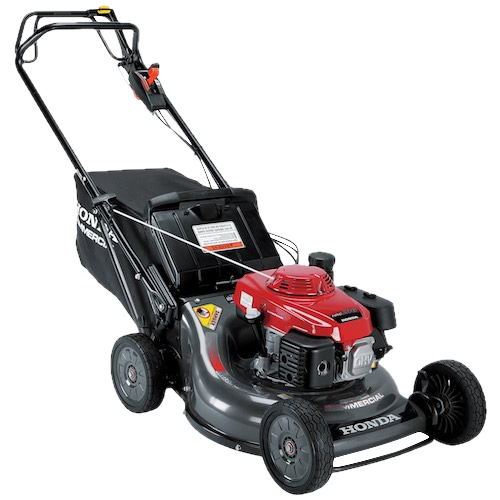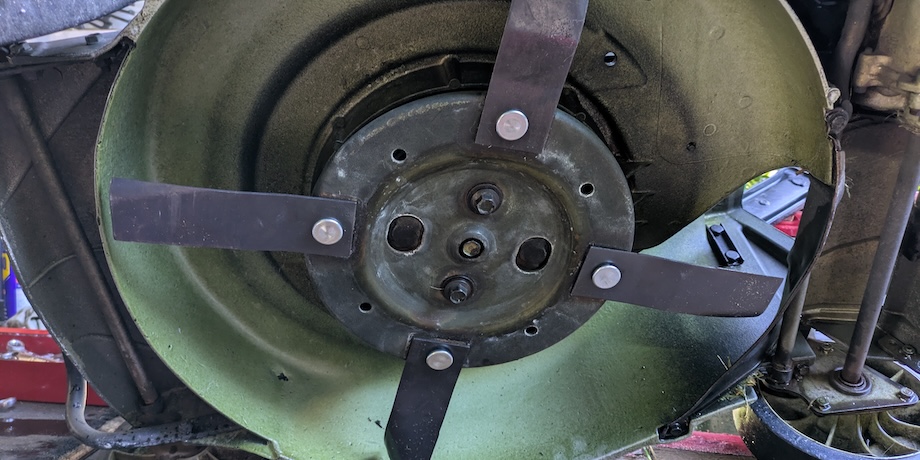
This tutorial will cover how I like to change lawn mower blades on a Honda HRU216 commercial lawn mower. While these methods will not be suitable for all lawn mower types, the principles of the blade change should be nearly identical.
Starting Off Right
First I like to have the rear chute lifted up, by using my trusty green taped bamboo stick that I have for whenever I need to lift the rear chute up. While it’s not overly necessary in this method of changing lawn mower blades, I find that it does give me more light into the work area underneath the lawn mower.
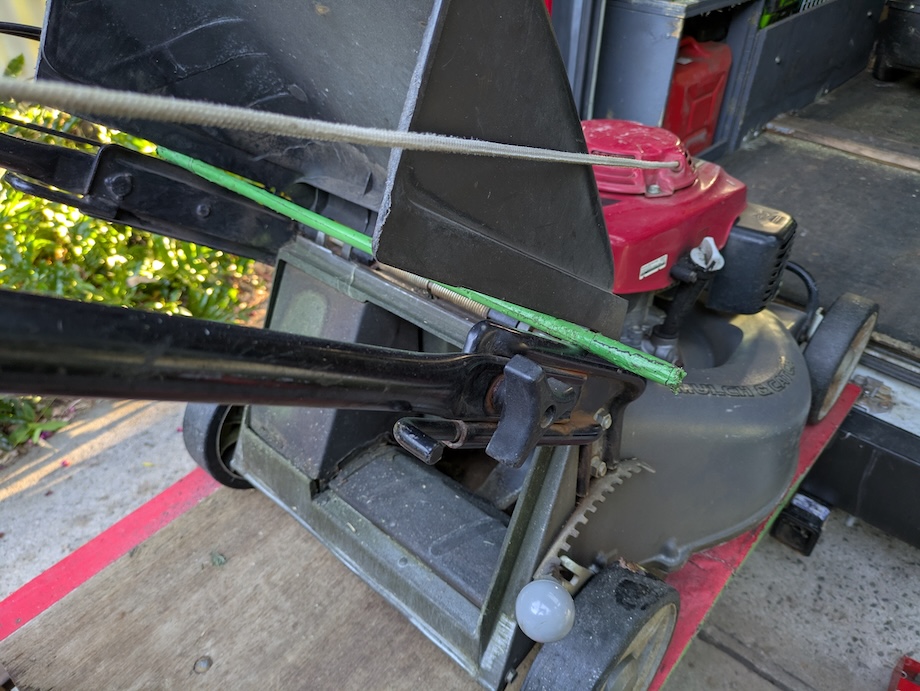
I then tilt the lawn mower over and rest it upon something securely so I can access the bottom of the mower. The Honda engine is very forgiving in allowing a lot of tilt, while other engines may not be so forgiving and may have issues if we tip them over too much for too long a time.
We don’t want to tip the lawn mower over on the side of the fuel cap, otherwise petrol will leak out everywhere.
Remove The Blade Carrier
I remove the blade carrier when I change blades on this machine because I think it’s simple and easy, and it allows me to make sure that the blades are changed properly.
There are two bolts which will need to be removed counter clockwise, that’s it.
If you are having difficulty removing the bolts, then a few little hammer blows onto the spanner to help nudge the bolts will usually loosen them very easily.
Changing Lawn Mower Blades
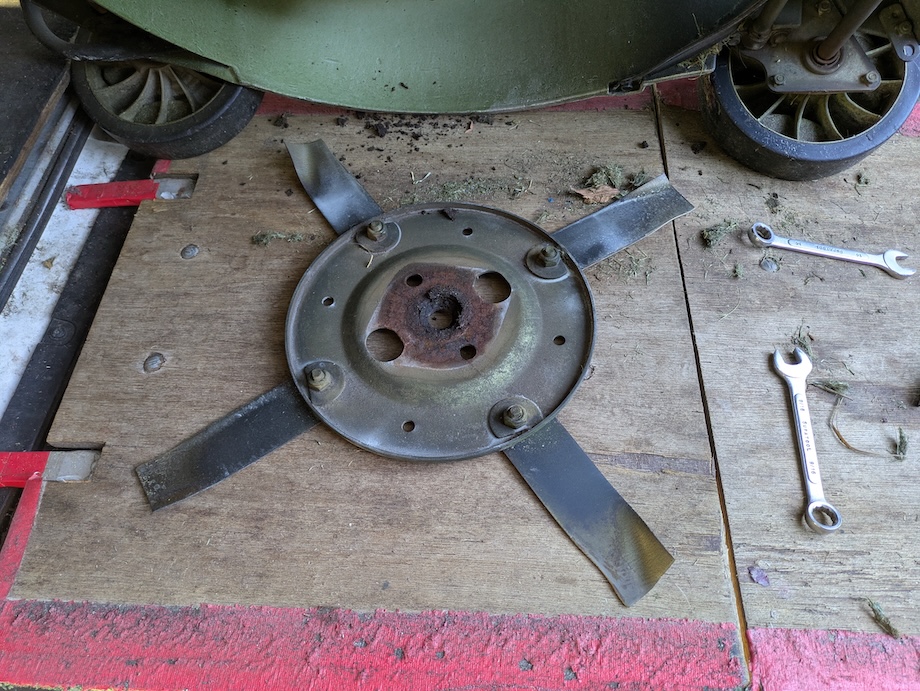
I remove and then replace each blade individually. If using high and low lift blades I will do both of each at a time, followed by the other two blades.
If you are having difficulty removing the nut, then a few little hammer blows helping to nudge the nut will usually loosen it very easily.
The area around the hole in the blade carrier which attaches to the blade must be clean from all debris. It doesn’t need to be wiped clean, it just can’t have any buildup of any kind of old hardened grass and dirt. If we leave any mess around the hole where the lawn mower blade attaches then the blade might not be properly sitting when we tighten the nut, and the lawn mower will make a horrendous noise when we start the machine from the unbalanced blade vibration.
From one side of the blade goes the bolt, on the other side of the blade goes the washer, then the blade is attached to the underside of the blade carrier. On the other side of the blade carrier the heavier steel washer goes on first, followed by the nut. The blade nuts and bolts are then nice and well tightened.
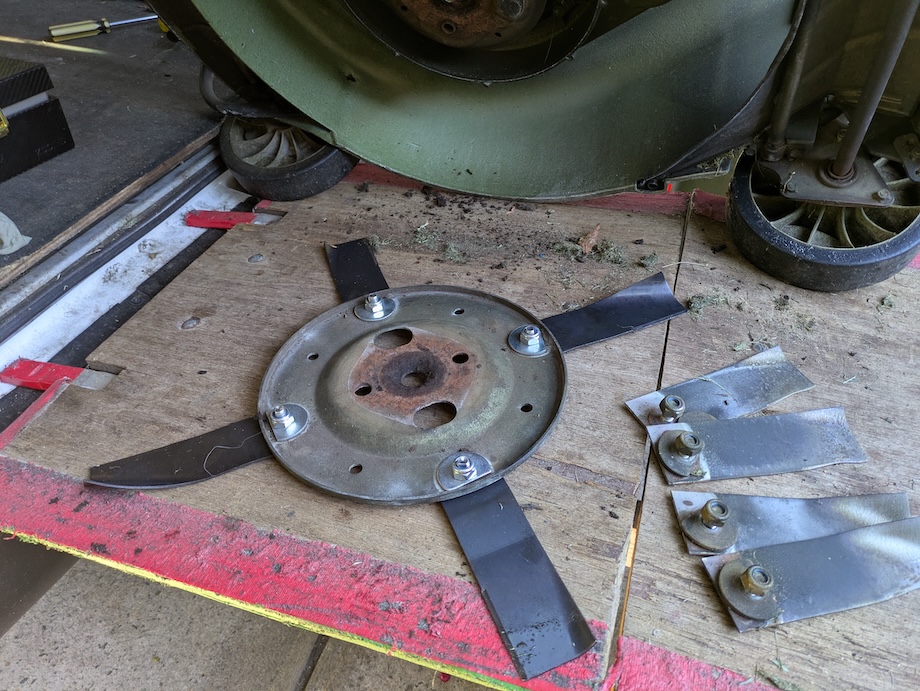
these are high and low lift blades
I prefer new nuts and bolts and washers when I change my blades.
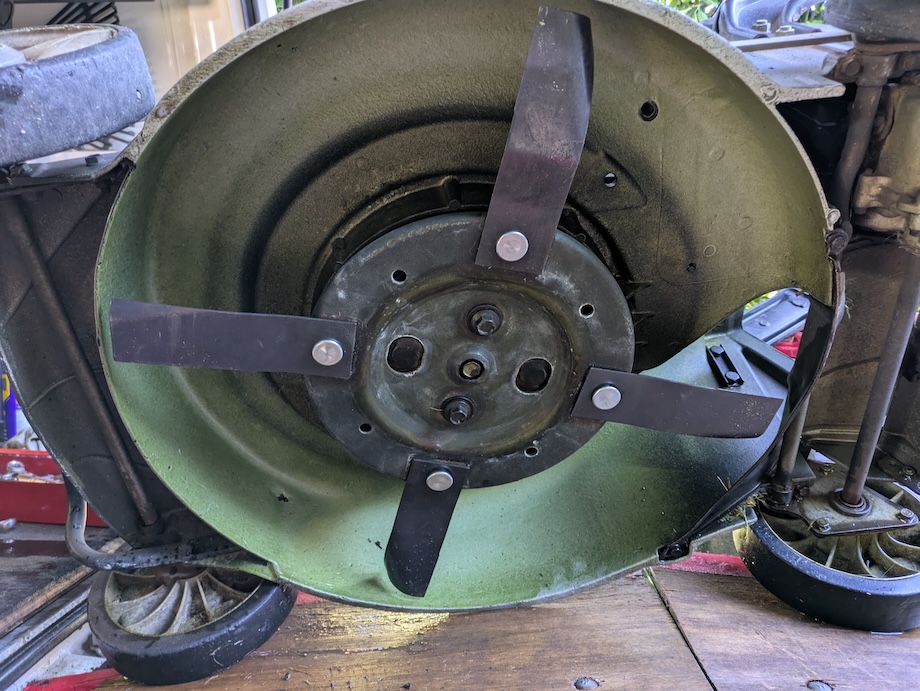
The lawn mower blade should be sitting rigidly in place once tightened into position. If the blade is not sitting rigidly, then remove the blade off the blade carrier and flip the black washer over to the other side. The blade should now sit firmly into place.
Do the same for all four blades.
Replace the blade carrier back onto the lawn mower, hard hand tightening and then a couple of light little hammer blows on the spanner tightening the two bolts seems to be sufficient to hold the blade carrier securely in position.
That’s it.
Notes For Other Lawn Mower Types
The process of changing the blades on other lawn mower types will be the same and different in various ways.
Unless the blade carrier has two bolts holding it into position, it might not be a good idea to remove it to change mower blades. A single bolt can possibly come loose more easily, and the blade carrier can simply fall off and onto the ground as we’re mowing lawns. Yes, I’ve had this happen to me before, and I had to have the mower shop tighten the bolt with a pneumatic wrench.
To change blades on a lawn mower in this circumstance will mean lifting up the rear chute of the lawn mower with our trusty bamboo stick, and then using a spanner to access the bolts from the rear chute, while holding the blade carrier in place with our other hand.
The lawn mower would also have been slightly and securely tipped over to allow this access. The less time that we leave the lawn mower in the tilting position, the better.
Some carburettors on some lawn mowers can become clogged if we tilt the lawn mower onto the side of the carburettor. This can lead to surging and hunting in the carburettor, which is a pain but the problem usually rectifies itself over time.
We also don’t want to tip the lawn mower over on the side of the fuel cap, otherwise petrol will leak out everywhere.
Some lawn mowers might allow us or require us to access the lawn mower blade nuts from underneath the lawn mower only, and not from the rear chute position.
The exact nut and bolt and washer setup will be slightly different between mower types. We just follow the same setup of these parts as we remove and replace each mower blade one at a time.
Check for any type of heavier thicker washer on the other side of the blade carrier as the blades are removed.
Once again we must clean all dried lawn clippings and dirt from away from the lawn mower blade attachment hole areas.
The new lawn mower blades should sit rigidly and securely in position. If they are not secure then remove the blade and flip the washer over, and try again.

all articles and images are © copyright
thelawnmowingman.com